Due to being a Southern Weddings addict, I was convinced the invitations had to be letterpress. Letterpress is beautiful, it is classic, and my aunt told me when I got engaged-your invitations will set the stage for your wedding. Now that may or may not be true, but I decided these puppies had to be perfect. However, letterpress is rather expensive. Most invitation sets started at $5. With 200 invitations to order, I wasn't ready to commit to so high a price.
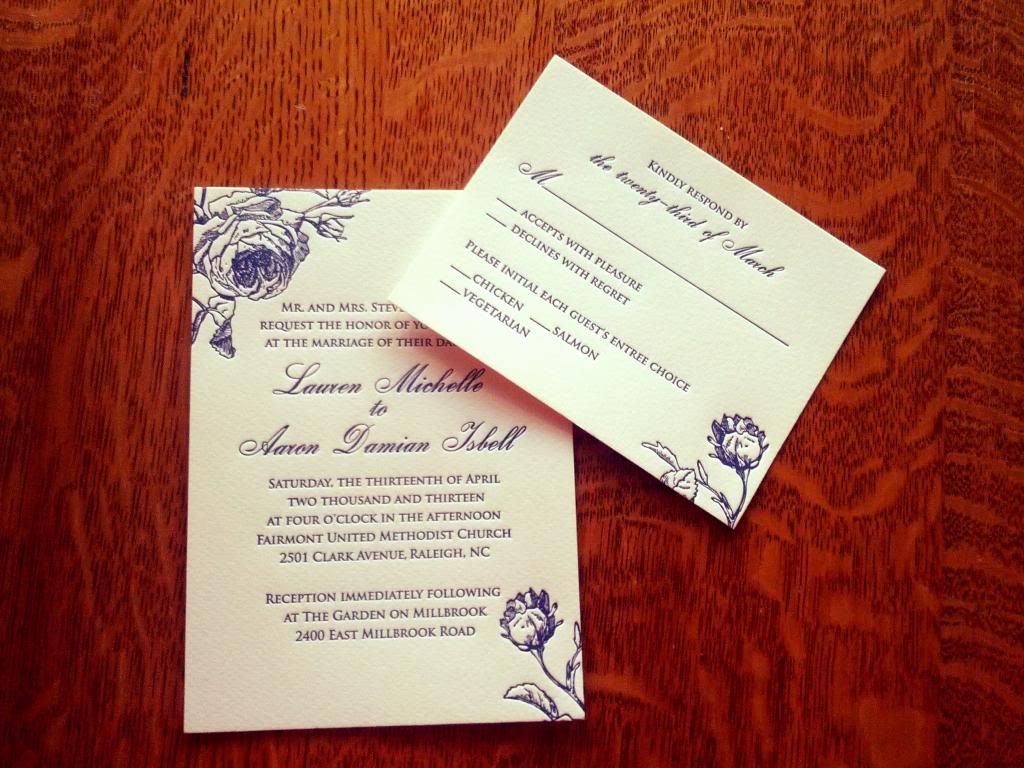
I decided to look on Etsy and find a DIY printable template to submit to a printing press. This idea, separating the designer and the printer, saved a couple hundred dollars. I choose a vintage rose design by Encre Studios and the owner, Nadia, was super nice and patient with me while I went back and forth finalizing little details like the time of the ceremony and the RSVP cards. The design cost me $60 which is really quite a steal.
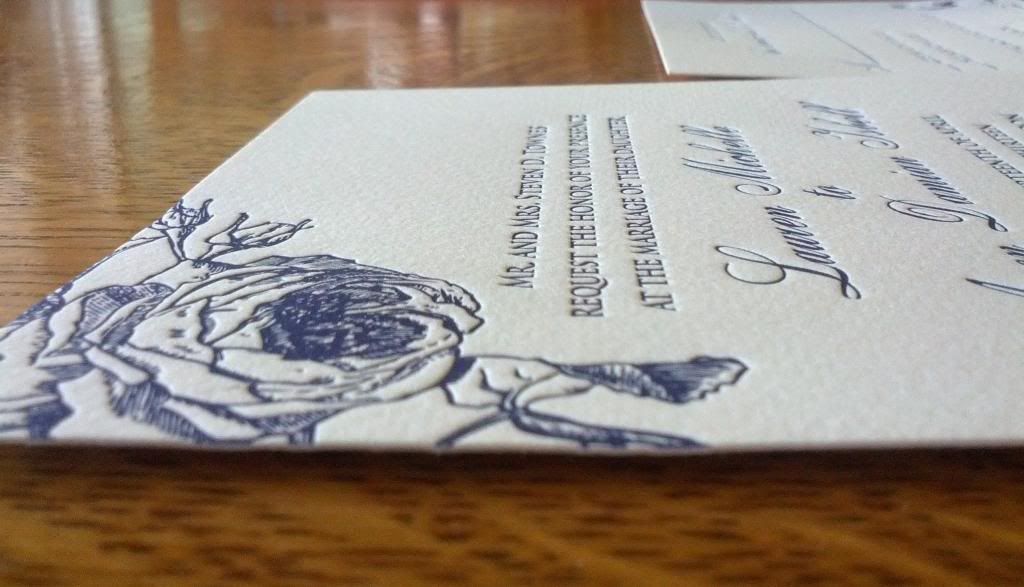
I didn't capture the pressed detail of the flower well in this photo,
but you are able to see the pressed font.
I submitted the pdf files to Mercurio Brothers Printing Press. Nadia knew how to prep the files for pressing and Mercurio had no problem using her files. I paid around $1.45 for the invitation and $1 for the rsvp enclosure, which was great. However, I had to order the inner, outer and RSVP envelopes which cost me about $150. I didn't really plan for it and it took away from some of my anticipated savings.
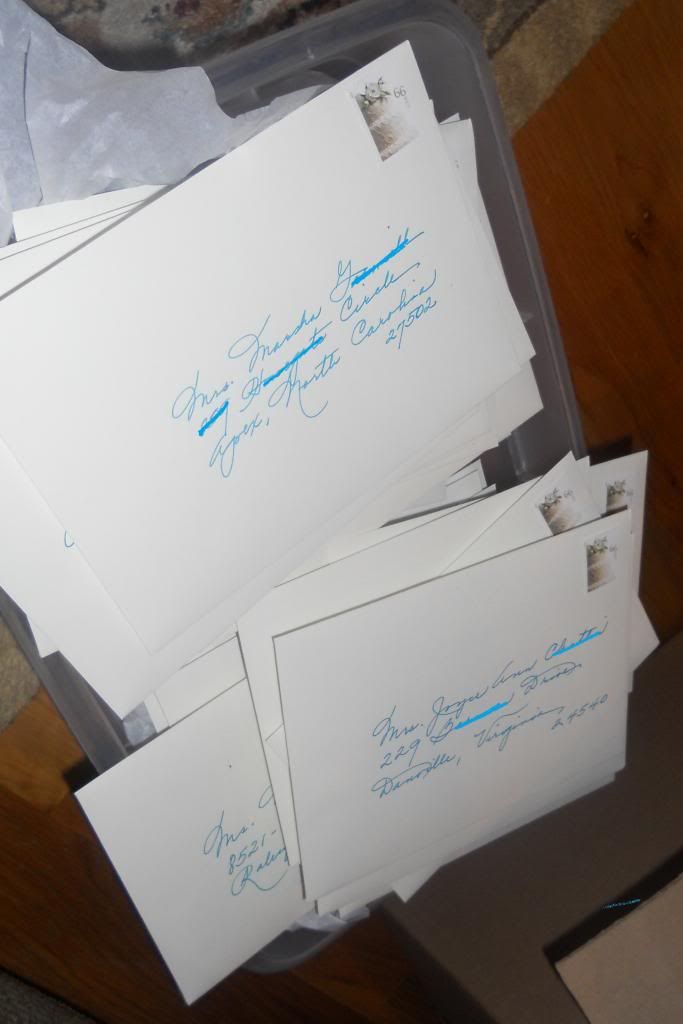
A wonderful lady from my church, BJ, agreed to write my addresses for me. She did it for free and it was so nice of her. She wrote with a fountain pen and her handwriting is beautiful. I picked the ocean blue ink, in hindsight maybe I should of just picked navy, but it was nice contrast to the navy ink on the invitations. For all y'all future brides, I highly suggest living in the same town as the person who writes your addresses rather than getting it done by someone far away who you're communicating with online. There were a few mistakes and some people added at the last moment and it was so much easier (and faster) to be able to go to BJ's house and have her work with me to fix things.
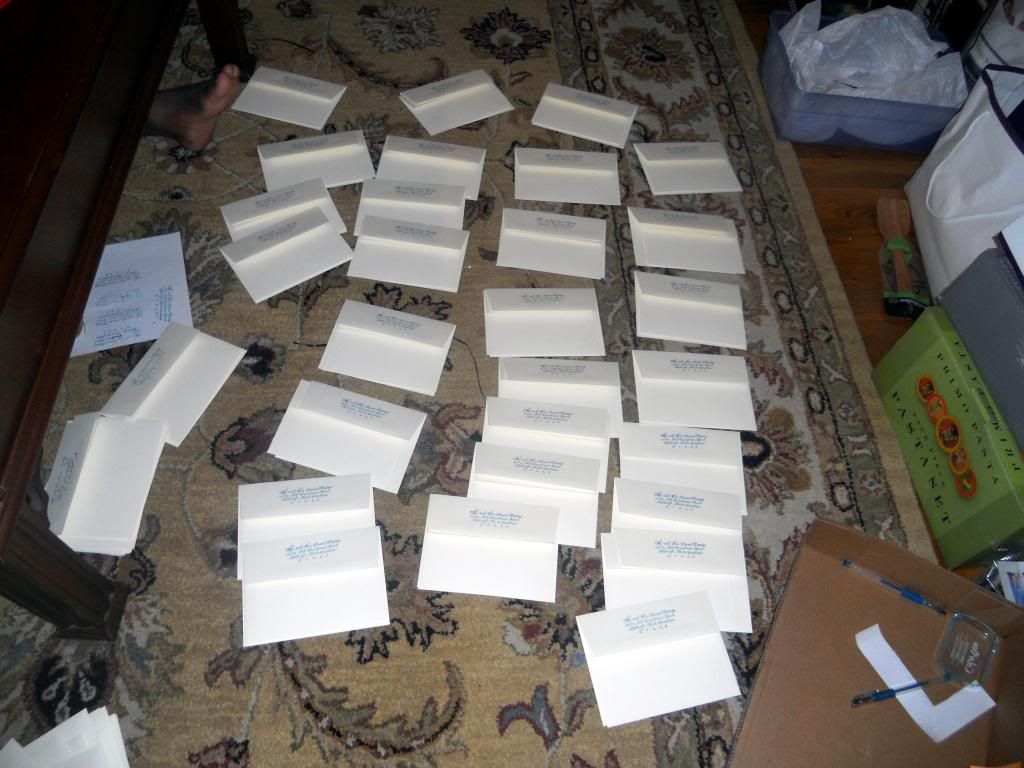
a labor of love :)
To address my RSVP envelopes, instead of making BJ's fingers fall off, I purchased a calligraphy stamp which I also used for my return address on the invitations. I purchased the stamp from BP invites. It cost $50 and initially I was hesitant to pay such a high price, but it was totally worth it. The stamping went smoothly and the presentation was beautiful.

proof (edited for privacy! )
stamping away...note all the bridal shower gifts on the right!

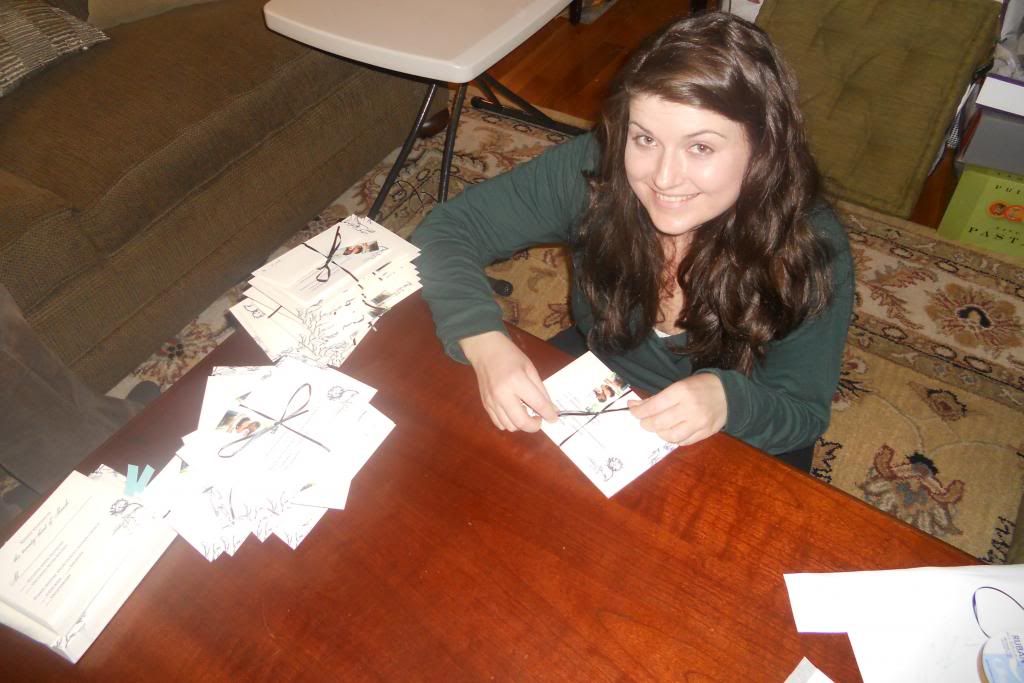
Emily working hard
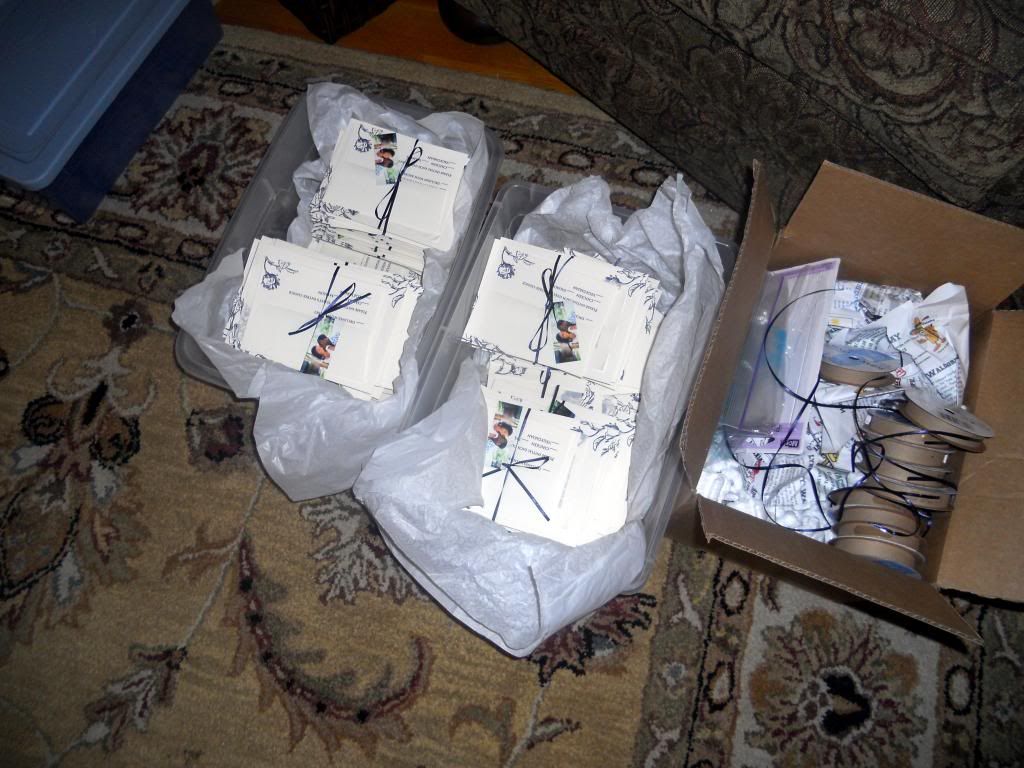
stacks!!!
The final product. :-)
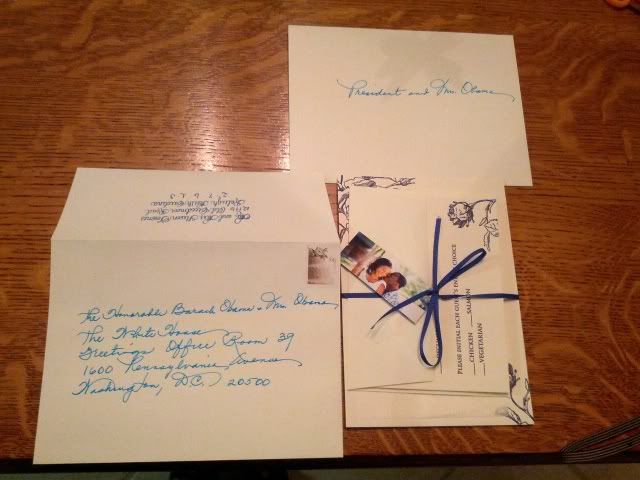
Yes, I sent a letter to the president!
-have a separate reception card. It saved about a dollar an invitation and I don't miss it one bit.
-multiple stamps. I think they look beautiful, but invitations is such a daunting task I wasn't ready to make it any harder. Hello classic wedding cake stamp! I went to five post offices in order to obtain 200 stamps...that's really the fault of poorly stocked post offices. No wonder USPS is going under!
-a special seal for the envelopes. Skipped that, didn't miss that.
Things I did do and would do again in a heartbeat
-take almost a month to choose the invitation design. I looked high and low and went to local shops and ordered a ton of samples online. I came close to settling, but I'm so happy I found Nadia on Etsy and chose a design that really had my heart.
-letterpress invitations. I wouldn't look down on anyone who didn't use letterpress, but I loved the result and would recommend Mercurio to anyone.
-mini moo card with our photo. It's the most talked about part of our invitation suite!
Things I did and wouldn't do again
-not properly price out the true cost of design+printing+envelopes+tissue paper+moo cards+stamp+ EVERYTHING lol. Really without a wedding planner there is no way to guess these costs. That is why I am sharing them freely with you so if you're planning a wedding you can be prepared. :-)
Hope you enjoyed the post! It's officially 1 MONTH UNTIL THE BIG DAY!!!
They look AWESOME!!! I did letterpress too and loved it! Found her on Etsy too ;) But it is expensive.. Everything looks so good though, I love the flower and how that was letterpressed too. Glad you had an army to help stuff your invites, it was just me and hubby and I think I spent 6 or so hours on it?! Ridic! I can't believe how extensive it really is.
ReplyDeleteCan't believe you're one month away!!!!! YIPPIEEEE!
thanks girl!! omg I'm so excited!!!
ReplyDeletethanks for the tips on invites. love the moo cards. I am rather clueless on to wear to begin on invites. :/
ReplyDelete